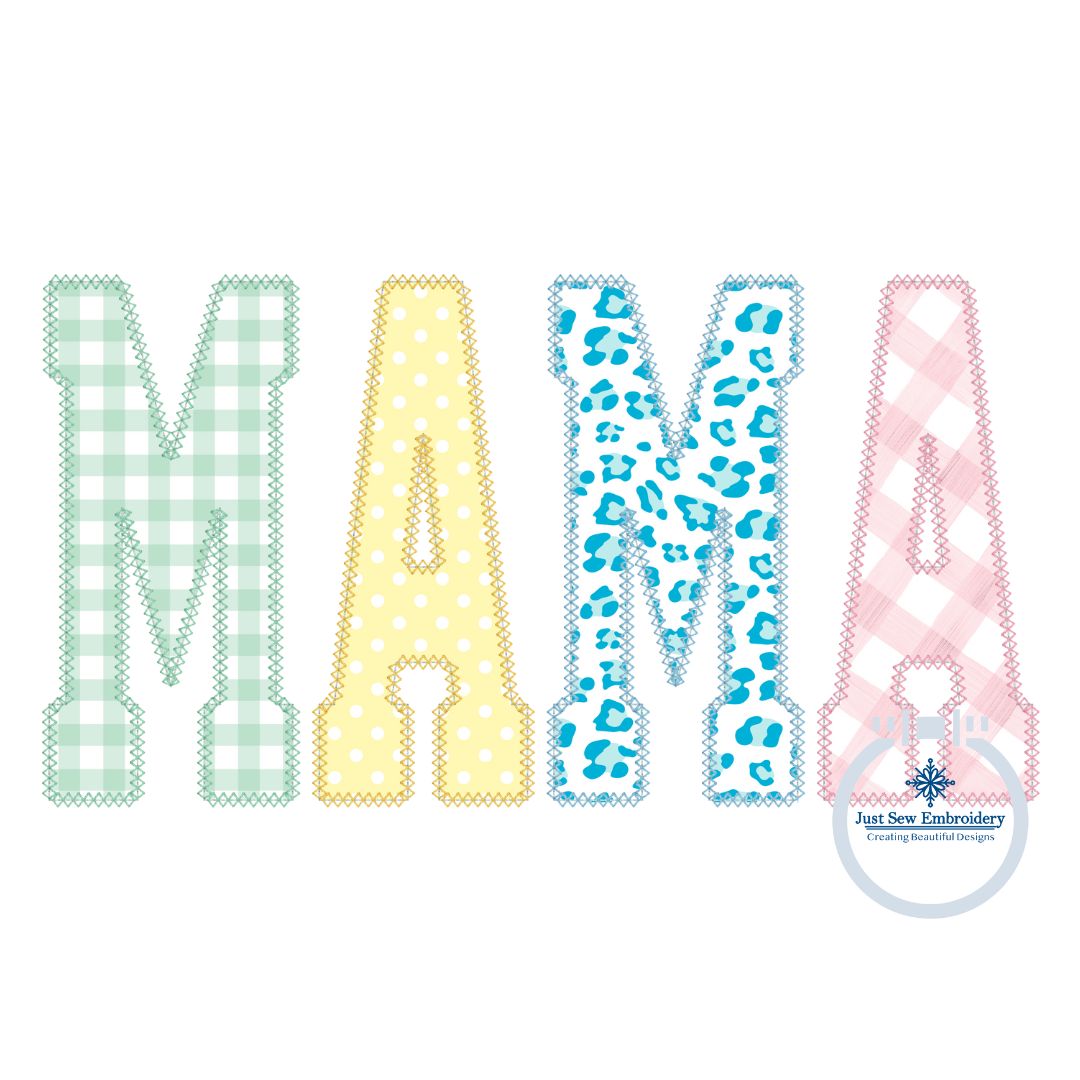
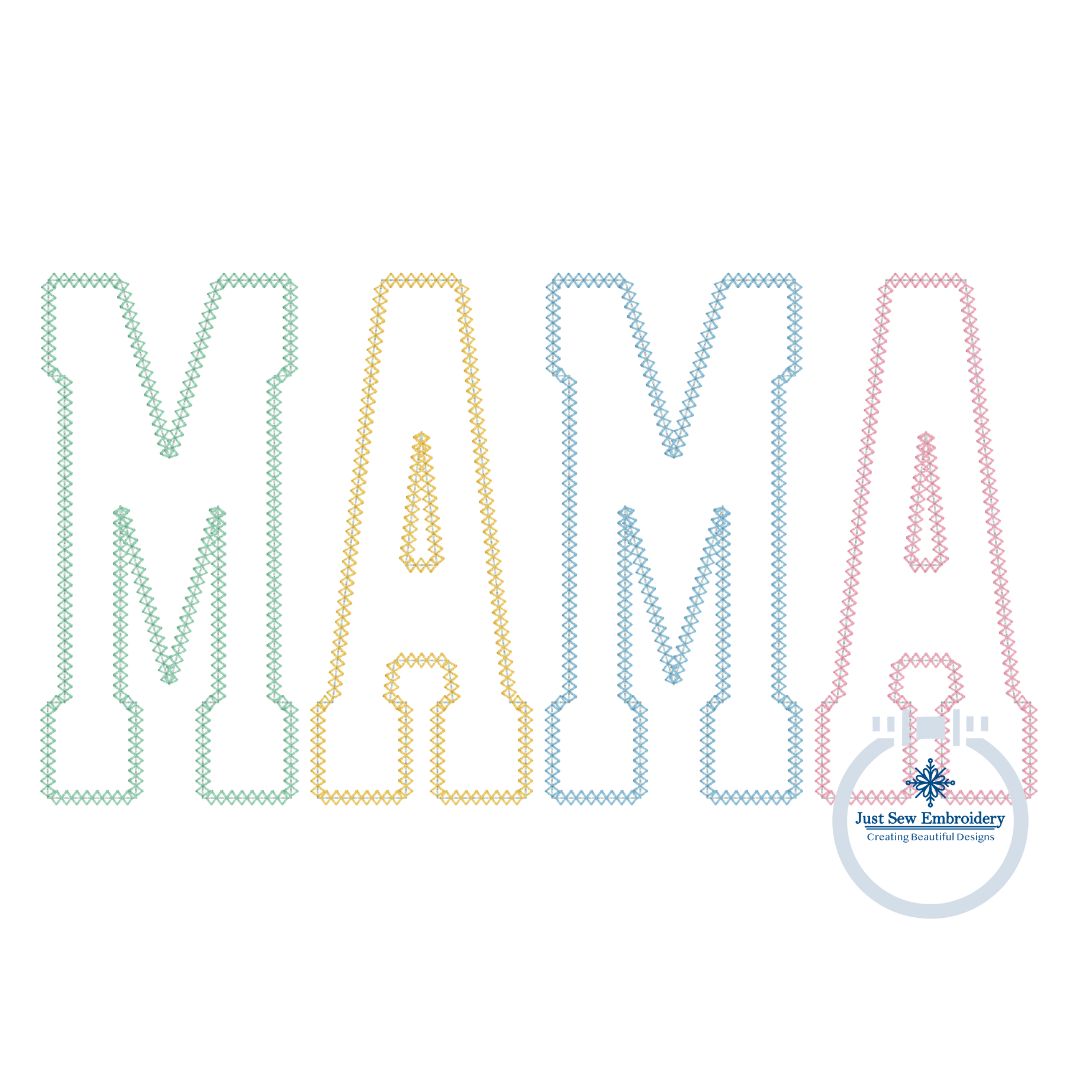
MAMA Diamond Multicolor Applique Embroidery Machine Design Varsity Font Five Sizes 5x7, 8x8, 9x9, 6x10, and 7x12 Hoop
Couldn't load pickup availability
Treat yourself or your MAMA to this really cute applique embroidery design with a pretty diamond edge stitch and multicolor/multifabric option.
This listing comes with five sizes:
5x7 hoop - 3 13/16 x 7 1/16 inches with 5,869 stitches
8x8 hoop - 4 3/16 x 7 7/8 inches with 6,547 stitches
9x9 hoop - 5 1/16 x 9 7/16 inches with 7,711 stitches
6x10 hoop - 5 7/16 x 10 3/16 inches with 7,693 stitches
7x12 hoop - 6 3/16 x 11 9/16 inches with 8,719 stitches
This not a patch. No physical product will be sent to you. This is an embroidery file and you must have an embroidery machine to use this product.
Available in PES, DST, EXP, HUS, JEF, VP3, and XXX.
This design may be used to decorate items for personal use or for sale, however the actual design may not be copied, sold, reproduced, or shared in any way. That is a violation of copyright laws.
This is a digital file available for immediate download. I cannot offer refunds on digital designs. If there is an issue with the stitched design, please let me know and I will do my best to correct your issue.
Where hoop sizes are mentioned, I am referring to the following hoop sizes:
Hat (60mm x 130mm)
4x4 (100mm x 100mm)
5x7 (130mm x 180mm)
6x10 (160mm x 260mm)
8x8 (200mm x 200mm)
7x12 (180mm x 300mm)
8x12 (200mm x 300mm)
9.5x14 (240mm x 360mm)
10.5x16 (272mmx460mm)
APPLIQUÉ INSTRUCTIONS:
Fabric Prep: Appliqué fabric should be washed and dried prior to using so that it’s preshrunk. Also, I recommend applying heat n bond lite to the back of the fabric, then peel off the paper backing before placing the material on your embroidery project. Do not apply heat n bond lite for raggy edge applique.
Appliqué files have three steps and you need to keep the thread colors different for these three steps so your machine will stop (single needle machine). Even if you don’t change the thread on the machine, the different colored thread in the design will force the machine to stop.
Step 1 Placement: Place your hooped project on the machine and run the first color. This is the placement stitch to show where to lay the fabric.
Step 2 Tackdown: Lay your fabric over the placement stitch and run the second stitch. This is the tackdown stitch to hold the fabric in place. For raggy edge applique, I recommend adding a piece of flannel in addition to the fabric you are using. Flannel frays very easily and adds more dimension to the raggy edge.
Step 3 Finishing Stitch: Remove the hoop from the machine, but DO NOT unhoop your project. Trim the appliqué fabric as close to the stitches as possible without cutting into the stitches. For raggy edge applique, trim the fabric leaving approximately 1/4 inch of fabric past the stitches. Place the hoop back on the machine and run the third and final step which is the edge stitch or finishing stitch.
For designs with two different fabrics, the order is usually bottom layer placement stitch, bottom layer tackdown stitch, top layer placement stitch, top layer tackdown stitch, bottom layer edge stitch, top layer edge stitch. Trim fabric after each tackdown stitch before proceeding to the edge stitch.
Happy Stitching!

